Welcome to our Blog, so happy to have you join us. Be sure to follow along with all the demonstrators and show them some love. This month our topic is Fall / Back to School. I hope this fits both for you. The links for all the blogs are at the end of this post. Thank you for following along, sharing our videos, giving a thumbs up, and subscribing.
REMINDER: August 19 – 21 is DOUBLE REWARDS!!!! YIPPEE!!
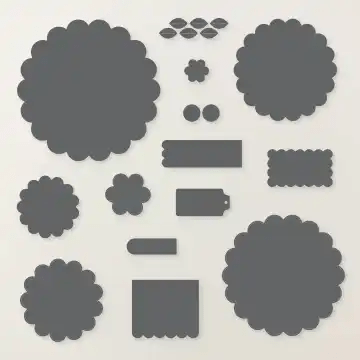
Cut Pumpkin Pie Cardstock in half 8.5 x 5.5 cut 2 largest Scalloped Bloom Die as close to one end as possible out of each half.
Cut next smaller Scalloped Die from DSP of your choice, I used the August POM, Glow of Harvest.
Center and glue to one of the largest scalloped Pumpkin Pie pieces. On the Paper Trimmer cut off 4 scallops as shown in the video. Repeat for the back large scallop.
Cut end off of first two pieces of cardstock measuring about 3.5″ across. Score on two short and one long side at 1.25″. Then cut the 2 square sections on one side only – see video. Glue box together as shown.
Use Tear & Tape (or adhesive of choice) to attach back unadorned large scallop to the box.
Stamp and die cut your 6 pumpkins (2 stamps) on Cajun Craze Cardstock. Cut vines from Coastal Cabana or coordinating cardstock of choice.
Cut a 3/4″ x 8.5″ strip for the handle from the Cajun Craze piece as shown in the video.
Attach handle to inside of back scalloped piece already attached to the box.
Now decorate the front scallop as shown in the video or as desired. Attach front to the box with Tear & Tape. Attach loose handle end to the back of the front of the scalloped piece. Add a ribbon of choice. You might choose White Textured Ribbon or coming in September you might like Cajun Craze with Copper Border and now your 3D project is done.
Scalloped Bloom Dies (available now) and Painted Pumpkin Bundle including the stamps, dies and mask (which can be ordered in September)!!!
July 10th!!! That’s the big day! Demonstrator excitement for this new release has been incredible, and the Stampin’ Hot Foil System is expected to be one of the hottest crafting launches of the year. Because of high demand and longer manufacturing lead times, it’s possible the system could sell out quickly.
While additional inventory has already been ordered, if the Hot Foil System sells out, it may not be available again until later this year. The coordinating hot foil products are expected to be replenished more quickly, but the machine itself may have a much longer wait.
Some things to know:
ONE – You do need to have the regular size (not the mini) Stampin’ Cut & Emboss Machine. It is NOT designed to work with other die-cutting machines and will invalidate the one-year warranty if used on them.
TWO – Read the directions. They’re easy to follow, but you do need to follow them precisely. I’ll keep mine handy till I can do it in my sleep.
THREE – While it does take time to heat up, this system is so easy to use and gives beautiful results. Six minutes to start, then another minute and a half to warm up the die.
FOUR – Roll SLOWLY. When die-cutting, you can roll at whatever speed works for you, but with the Foil system, you do need to roll slowly.
FIVE – The foiling system works better with our Two-tone cardstock than with our solid-core cardstock.
SIX – You can use an eraser to remove any extra foil bits that get on your paper where you don’t want them.
If you plan to order, be sure to order the Stampin’ Hot Foil System, at least one foil, two-tone cardstock if you don’t already have it, and at least one hot foil bundle. A suggestion is the Sweetly Sentimental Die Bundle, but check the catalog above for the foil dies currently available.
A great way to use your Stampin’ Rewards! If you’ve been saving your rewards, this is a fantastic time to put them toward a larger purchase.
FREE bonus craft class! Everyone who purchases the Stampin’ Hot Foil System before January 4, 2027 will receive complimentary access to Stampin’ Up!’s Metallic Magic Craft Class ($35 value) The virtual class is packed with techniques, tips, and beautiful projects to help you get the most from your new system.
Currently, we have gold, silver, and pink foil. Try on dark two-tone cardstock, but the light will work, too. I’m so excited…what about you?
choose a team leader….I hope you choose me, of course!!
accept required agreements.
enter a few personal details.
pay $100 USD.
click submit.
Second:
Settle in – We’ll guide you through every step and provide the tools and resources you need for a smooth start.
What’s included for my $100 USD?
You’ll receive the Get Started Bundle, which includes:
a coupon code valued at $125 USD.
an 8-pack of catalogs.
About the Coupon Code
Coupon code can be applied to any demonstrator order.
Order can exceed the coupon code value.
Any amount above the coupon code value:
receives the demonstrator discount.
counts toward the quarterly sales minimum.
earns Stampin’ Rewards if it meets the qualifying purchase amount.
Third:
Shop – Use your coupon code to shop for creative products you love.
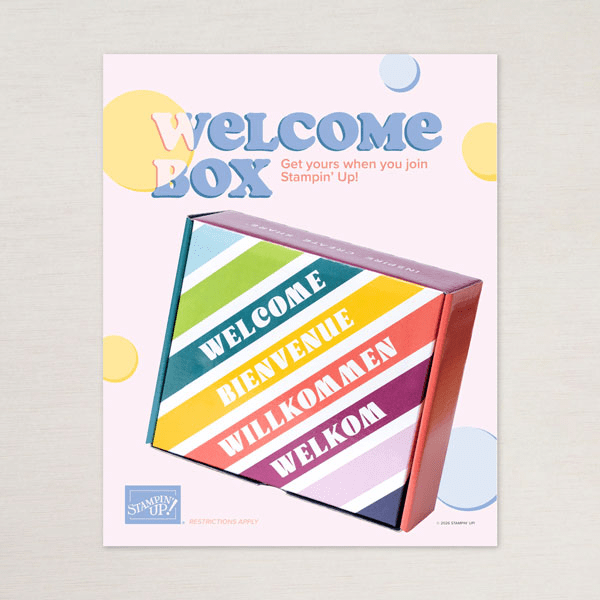
Once your information has been reviewed and approved (usually very quickly), your Welcome Box ships (see below for a snapshot but I don’t want to spoil the contents so I’ll let you wait till you receive it…whoot but it does include some cool swag, a stamp set, an ink spot and so much more), and you’ll receive an email with:
your demonstrator ID.
a coupon code to begin shopping.
Additional perk for new demonstrators
New demonstrators may add eight free catalogs to any order.
As an independent Stampin’ Up! demonstrator, you’ll help others discover their creative potential while building meaningful connections through crafting. You can grow at your own pace, find inspiration at every step, and be part of something creative, connected, and truly rewarding.
You also enjoy a range of exclusive demonstrator-only perks: a product discount, early access to new products and catalogs, the opportunity to earn a modest commission, and opportunities to attend crafting events and creative experiences.
What are the perks of joining?
As a new demonstrator with the Bronze title, you’ll receive a 20% discount on qualifying purchases. You’ll get VIP access and be first to see new products, have the opportunity to attend company events, and be part of a creative community that spans the globe. You’ll also have access to demonstrator-only Facebook groups, development resources to help grow your business (like Stampin’ University and Succeed Weekly, our weekly demonstrator email), the opportunity to have your own online demonstrator storefront via Demonstrator Business Web Services (DBWS), and more. In addition, you’ll have access to our world-class Demonstrator Support team and other experts who are available to help you with everything from placing orders to leveling up your business.
What are some of the ways I can participate as a demonstrator?
One of the best things about being a Stampin’ Up! demonstrator is that you get to choose your own adventure! You can enjoy the products and crafting on your own, or you can share them with others, bringing friends together to experience creativity and fun. And as mentioned earlier, their purchases can help you meet your minimums.
Over time, you may want to expand your crafting circle and become an influencer—adding a few customers and receiving modest commissions. Eventually, you could even decide to become a business builder with a team of your own. Choose whatever Stampin’ Up! journey suits you best and tailor your experience to meet your lifestyle!
How much does it cost to become a demonstrator?
The cost to join is $100. For that you get a coupon code for $125 worth of products to spend on the products you want.
What do I get when I spend $100 to become a demonstrator?
You’ll receive the Get Started Bundle, which includes a $125 coupon code and eight complimentary catalogs. You can start shopping right away with your coupon code and use your new catalogs to tell everyone you know about all the amazing products we offer.
Do I have to sell or build a team?
No! You are free to choose your own adventure and run your Stampin’ Up! business YOUR way! In fact, all it takes to remain an active demonstrator is to meet the quarterly sales requirement. If you prefer, you can place your own orders and/or collect orders from family and friends to equal the quarterly sales minimum.
If you decide that you’d like to build a team of your own, there are benefits! One of them is the friendships that you can enjoy as you share Stampin’ Up! experiences together. Another is being able to qualify for team commissions on product orders that your team member(s) submit.
Are there any minimum sales requirements?
To continue to receive your discount and other demonstrator perks, you need to submit $300 in sales per quarter. Sales can be submitted in any amount—in other words, you don’t have to submit a $300 order all at once—and both your personal purchases and customer orders count toward your minimum. Exceptions include demonstrator business supply items, but nearly everything you purchase or sell will count. You can make these purchases yourself, of course, but sharing the fun of stamping with others can help you meet your minimum sales requirement.
What happens if I don’t meet minimums or need to drop?
If for any reason you don’t meet your quarterly minimum sales requirement, you’ll lose your active status and “drop” as a Stampin’ Up! demonstrator. However, you can sign up again after a short waiting period (45 days). If you choose to come back, you can rejoin with your current team leader or with a new team leader.
I’m in! How do I get started?
Joining is simple. Just complete the sign-up form online or mail it in. After you submit your form, you’ll receive an email with a coupon code for $125 worth of products. You can use this coupon code whenever you want. If your order exceeds the coupon amount, you’ll receive your demonstrator discount on the remaining balance, and that amount will count toward your first quarterly sales minimums.
I’ve got more questions. Who should I contact?
Your new team leader will be your best resource for any questions you may have. You can also contact Demonstrator Support at 1-800-STAMP-UP or ds@stampinup.com. Our agents will be very happy to assist you! Text me at 417 268 7546 and I’ll call you back or send an email to StampinWithPatricia@outlook.com
I’m expanding my team and love to share the joy of creativity! Whether you want to join a fun team, help your friends by inviting stamping friends, or highlight the benefits of being a demonstrator, there are many ways to make this promotion work for you. Here are three simple strategies to make this a win for you.
Choice Is Key
This promotion is all about giving you options. If the new In Colors in an innovative case design isn’t the right fit for you, you can choose the value-add Starter Kit. As a potential team member the choice is entirely up to you!
I Continue to Add Stamping Friends to My Team
Stamping is more fun when you do it together! Meet monthly for updates and getting to know each other. Challenges and even card shares are fun!! When we have the Annual Meeting with Stampin’ Up! it’s fun to get together and experience the whole event together…it’s the best!
If you joined as a new member during the October or February join promotions, I encourage you to join again if you dropped since then. And if you’re joining now demonstrator, it’s a perfect time to ask friends to join you on this creative adventure. A simple invitation can spark something amazing!
Share ALL the Benefits of Being a Demonstrator
Discounts are just the start! Demonstrators enjoy early access to products, exclusive events, and a supportive creative community. I like to share what I love most about being a demonstrator—meeting with friends to craft, incentive to create cards/scrapbooking/3D project to share with friends, learning more skills all the time, having fun with like-minded people and soooo much more!!
This promotion is more than a great deal—it’s a chance to share something you truly love while growing and strengthening your community. Every conversation you start could lead to a new creative journey for someone else. So take the leap, become a demonstrator and enjoy the fun and friendships!!
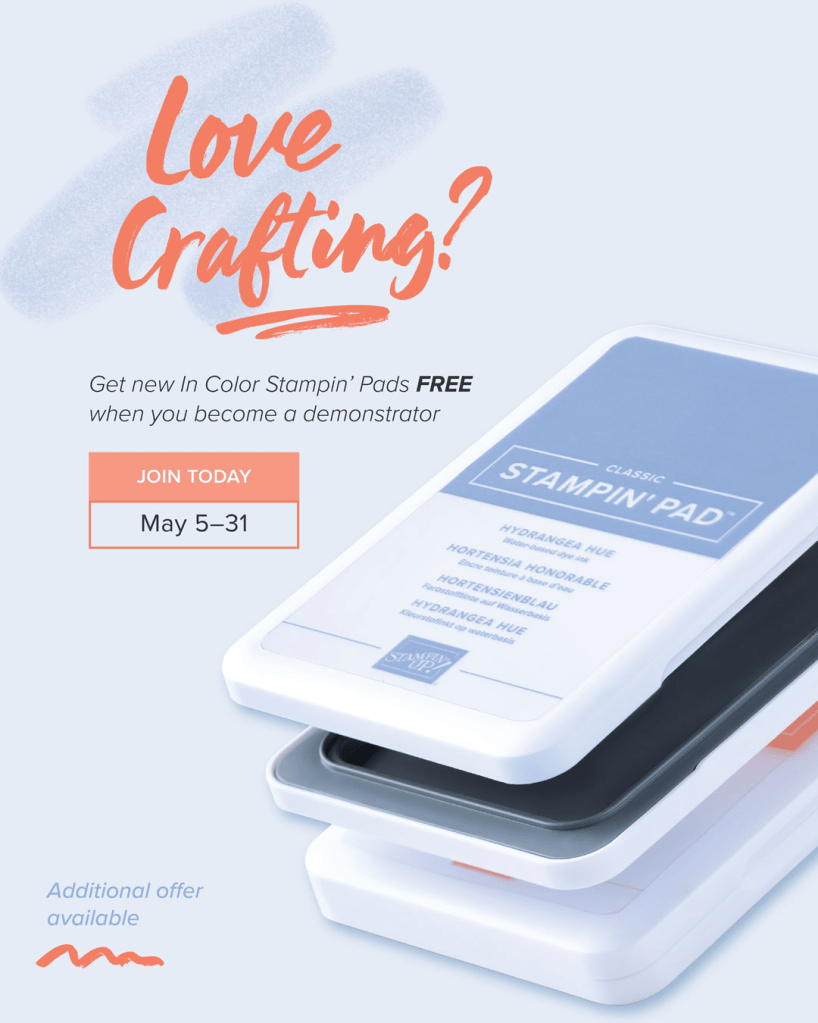
This Join Offer starts May 5th and ends May 31st at midnight Mountain Time. Don’t let this opportunity pass you by! Scan the QR code to join my team!!
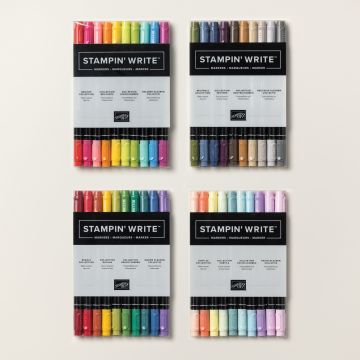
Announcing the Retirement of Stampin’ Write Markers
Hold onto your crafting hats because we have some bittersweet news to share! We’re bidding a fond farewell to our beloved Stampin’ Write Markers, and trust me, you won’t want to miss out!
As of August 20, 2025, these colorful companions will make their way to the realm of Last Chance Products, available only while supplies last!
Why not add a splash of color to your projects before they vanish! Get your creative juices flowing and share your favorite masterpiece using these markers. Keep your craftiness alive and make the magic happen! Don’t let them slip through your fingers and grab them while you can! You can purchase the entire regular line of markers as shown here or in individual color sets plus the current In-Colors.
Cling Stamps Are Being Phased Out
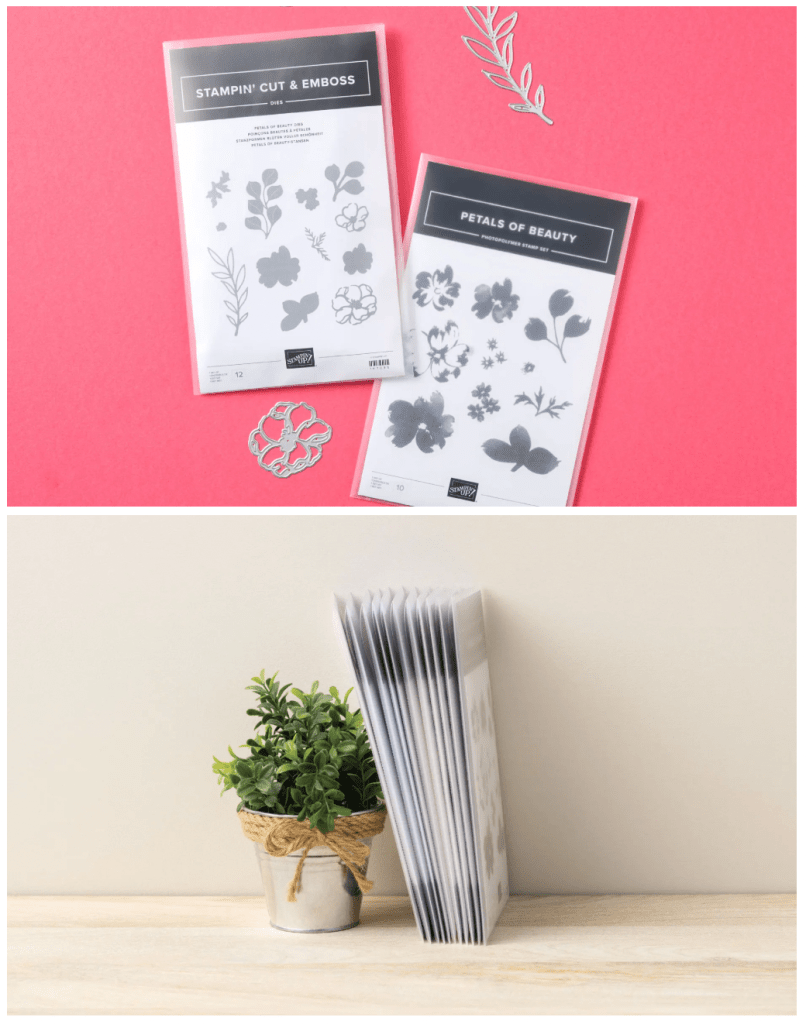
If you’re like me you loved that red rubber for the crisp clear images but key raw materials needed to make cling stamps (red rubber stamps) are becoming increasingly difficult to come by some no longer being manufactured at all! In addition, so many love the clear photopolymer stamps because they’re so easy to position since you can see through them. Change, my dear friends, is always hard but this will also be a good thing.
Because photopolymer are thinner we will be transitioning to a sleeker, slimmer packaging. This will mean it takes a lot less space to store stamps which is amazing! In fact, stamps AND dies will now come in the same size and style of packaging, making it easier than ever to store bundles and coordinating products together. The new packaging is similar to our current die packaging—durable, clear plastic envelopes—but with an exciting improvement: Die packaging will now feature printed artwork for quick and easy identification! Stamp packaging will continue to display artwork, too. The new organizers will be available for purchase separately in packs of 10 as part of the November 2025 Online Exclusives. And the current DVD-style stamp cases will continue to be offered while there is demand for them.
I don’t know about you but I’m truly excited for the new changes. It will take thinking about new ways to store my stamp and die bundles but since it takes up less space, I’m excited to see what will be on the horizon for stamp storage. I hope you’re excited, too!! Let me know your thoughts below! I’d love to hear from you.
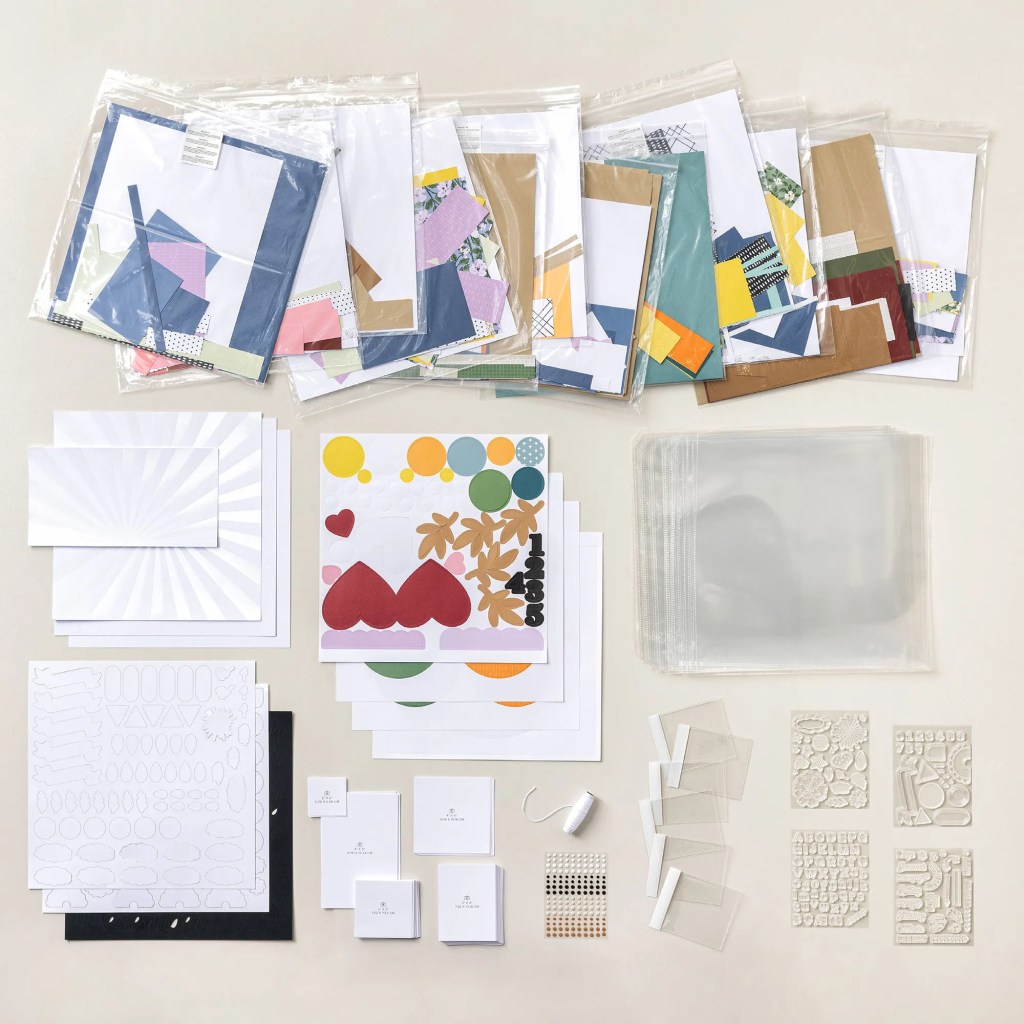
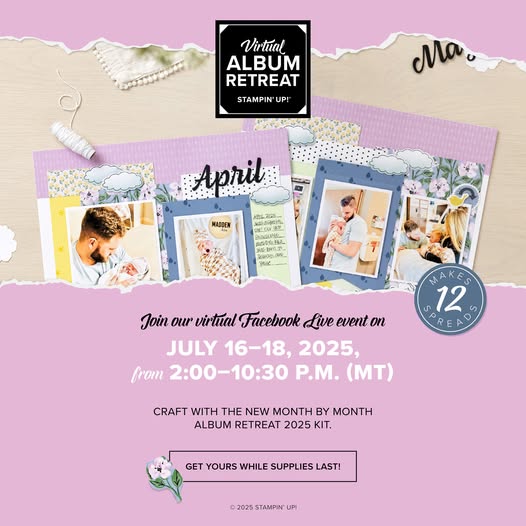
The Workshop Kit includes precut DSP, page protectors, exclusive stamp sets, cardstock, embellishments, and more! The Virtual Retreat is July 16-18, 2:00 – 10:00 PM (MTN), Space is Limited. The Live Workshop is included when you purchase the kit; however, you do not have to watch Live. It will be recorded and available to watch later.
I will be doing much of the kit “live“. If you’d like to do it live and want to join me so you can use my supplies, let me know and we’ll work out the details.
Here are some ideas to get you started…
· Highlights of each month through the year · First or last year of high school or college · Document trying one new thing a month · Photos of your day-to-day life · Baby’s First Year · Favorite Quotes and Scriptures · Retirement · Date Nights! · Your own writing, doodles, or quotes
Or you can use a monthly theme! Here are some ideas…
January – New Beginnings, Intention, Vision February – Love and Friendship March – Luck, Growth, New Energy April – Renewal, Change, Acceptance May – Celebration, Outdoors, Joy June – Sunshine, Adventures, Confidence July – Fun, Family, Play August – Back to School, Lazy Days, Transition September – Cozy, Change, Reflection October – Strength, Spooky November – Gratitude, Gatherings, Presence December – Magic, Memories, Celebration, Closure
Supplies List to complete as designed (if you want to watch the Live presentation and use my supplies, let me know):
INK ■ Cherry Cobbler Classic Stampin’ Pad™ (147083) ■ Darling Duckling Classic Stampin’ Pad (165277) ■ Garden Green Classic Stampin’ Pad (147089) ■ Lost Lagoon Classic Stampin’ Pad (161678) ■ Misty Moonlight Classic Stampin’ Pad (153118) ■ Mossy Meadow Classic Stampin’ Pad (147111) ■ Pecan Pie Classic Stampin’ Pad (161665) ■ Pumpkin Pie Classic Stampin’ Pad (147086) ■ Soft Sea Foam Classic Stampin’ Pad (147102) ■ Stampin’ Journaling Pen (166647) ■ Tuxedo Black Memento™ Ink Pad (132708)
TOOLS ■ Bone Folder (102300) ■ Clear Block B (117147) ■ Clear Block D (118485) ■ Clear Block H (118490) ■ Paper Snips Scissors (103579)** ■ Paper Trimmer (152392) ■ Stampin’ Pierce Mat (126199) or sturdy cardboard***
OTHER ■ Eraser ■ Masking tape or sticky notes ■ Pencil ■ Ruler ■ Scratch paper ■ Stamp cleaning supplies ■ 1″ (2.5 cm) circle punch or die (optional) ■ 1/4″ (6.4 mm) or 1/2″ (1.3 cm) circle punch or die (optional) *We will use Blending Brushes on six different colors
**In addition to regular cutting, we will use the tips of the Paper Snips Scissors to cut slits in some of the Memory Protectors™. If you aren’t using these specific scissors, you may also need a craft knife. ***The cardboard must be able to fit inside a 12″ x 12″ (30.5 x 30.5 cm) Memory Protector. If it doesn’t fit, you may not be able to complete some of the crafting techniques.
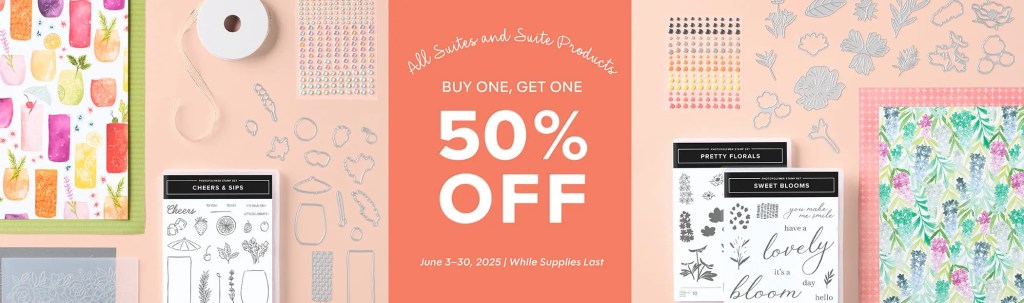
Starting today, June 3, all available suites and suite products from the 2025–2026 Annual Catalog and Online Exclusives are buy one, get one 50% off! If you’ve had your eye on a new suite or you really like the look of a stamp set from an Online Exclusives suite, you don’t have to choose—you can get both!
When you shop the sale, the 50% off discount will apply to the lower-priced item.
To maximize your BOGO savings, I suggest you purchase Bundles or Suites together. If you’re buying two Suites, DO NOT add individual items—like Designer Series Paper from a Suite—separately, as the paper may end up being the item that’s 50% off instead of the higher-priced Suite.
✨ Pro Tip: Since the 50% off will apply to the lowest priced suite items in your order, it may be beneficial to place multiple orders to ensure the 50% off is maximized in each transaction.
MIX IT UP! Examples of how the sale works:
#1 Buy a full suite and get another suite for half off
Remember you get Stampin’ Rewards, too!! BEST DEAL
#2 Buy a bundle, get another bundle for half off.
On example #2 you save and still get your Stampin’ Rewards!!
#3 Buy a set of DSP, get another set of DSP for half off
On example #3 Stampin’ Rewards.
#4 Buy any other part of a Suite and the lower-priced item is half off.
#5 DO NOT buy a full Suite, another suite AND a roll of ribbon – the ribbon will end up as your half price item. Be sure you’re checking your cart.
Suite collections are available if all items are in stock; if all items are not in stock, you can still shop the available suite products.
You don’t have to buy a suite and suite products all from the same suite collection for the discount to apply. You can buy any suite products from any suite.
The discount will appear in your cart once you’ve added two items within the sale parameters to your cart.
Products are available only while supplies last.
HINT: If your order at least $72 you’ll get your best shipping price value. If you’re ordering less than $72 in product let me know and I’ll see how I can help you out.
Get your wish lists ready! You can see all the product suites available here.
Why I’m Looking Forward the Album Retreat—and Why You Will Too!
I absolutely love the Album Retreat—and let me tell you why it’s one of my favorite events of the year!
It’s fun, it’s creative, and best of all—all the work is done for you. Each kit includes 12 double-page layouts, completely pre-cut and beautifully packaged, so you can jump right into crafting without the prep. You’ll also learn fun new techniques using exclusive stamps you won’t find anywhere else.
The techniques you’ll learn during the retreat will not only make you a better scrapbooker, but a better artist overall—many of them can even be adapted for cardmaking and other paper crafts, giving you endless creative value beyond the retreat itself.
Whether you’re building a month-by-month family album or creating a meaningful gift for a baby, newlywed, or graduate—this retreat helps you complete a full album with ease and joy. Each layout is pre-designed, pre-cut, and ready to assemble, so you can focus on the fun part: creating something beautiful and meaningful without the stress.
What makes it even better? You get complete color directions and an invitation to a private Facebook page, where the class videos are posted—you can watch live or catch the replay anytime. That means you can create this album from your own craft room in your comfiest slippers, or get together with friends and enjoy a mini retreat of your own. Do it live, or whenever it works for you!
Why I personally love it? My scrapbook for the year will be DONE—and I didn’t have to measure or design a thing. Just open the kit, follow along, and enjoy the creative process.
This event is a total win:
Comes ready to assemble.
Videos to walk you through the whole thing.
When finished, you’ll have a 2-page Layout for every month.
You’ll be learning some great techniques.
You’ll earn Stampin’ Rewards, too!
But don’t wait—quantities are limited and these kits are only available while supplies last.
Available starting tomorrow, 5/28 while supplies last!
I’m so excited to announce the new Rewards Program with Stampin’ Up! I know you’ll be as thrilled as I am when you get all the details. NEW PROGRAM BEGINS 4/15/25! No more Host Codes!! No more adding orders together!! It’s a win!
WELCOME!
I’ve got some exciting Stampin’ Up! news to share with you! There’s a big change coming to the Host Rewards Program, and I want to make sure you feel confident, prepared, and ready to make the most of it!
As Stampin’ Up! continues to modernize and grow, they’re introducing a brand-new rewards structure designed to give both customers and demonstrators more flexibility, freedom, and FUN perks!
EARN 10% BACK IN REWARDS
Starting at just $20, you’ll earn 10% back in rewards—no complicated tiers, no big spending goals. That’s $2 for every $20 you spend, and it adds up fast! Spend $60 get $6 to spend. AND save them up for a big item.
USE THE POINTS HOW YOU LIKE
You’re in control! Use your rewards to discount a future order or treat yourself to something special.
REWARDS STAY IN YOUR STAMPIN’ UP! ACCOUNT
No more host codes or wondering if it was applied or how much you’ve earned—your rewards are stored right in your online account. Use them when you’re ready and watch them grow!
DO STAMPIN REWARDS EXPIRE?
Yes, but not for a full year! Stampin Up! will even apply your oldest rewards first, so you never miss out on what you’ve earned.
PAPER PUMPKIN SUBSCRIBERS – GREAT NEWS!
Earn rewards when you receive two or more Paper Pumpkin kits per month or purchase prepaid subscriptions. Just note: one-month subscriptions won’t qualify.
Want to start earning rewards right away?
All you need is a Stampin’ Up! Online Customer Account and an order of $20 or more! New Program begins April 15th, 2025!! Whoot!!
Thank you so much for selecting me as your demonstrator—it means the world to me! If you’re still looking for a demonstrator, I would be honored to support you. I’m here to help, answer your questions, and make your crafting journey as fun, inspiring, and rewarding as possible!
I’m often asked what items do I need to start crafting. And, of course, part of that answer is what are your plans for your crafting? If you’re going to make cards and/or scrapbooks I have a starting list for you below. But many of the items are universal crafting items as well. Below I’ll list the items I like and use along with the item # for US purchases from Stampin’ Up! and why you need the tool or why I suggest it.
Paper Snips – 103579 – Paper Snips are a staple tool for expert cutting even in small areas. The precision-ground stainless steel tips cut cleanly all the way to the end of the blades. I use mine every day for ribbon (I even have a 2nd one strictly for ribbon), and cutting what we call “fussy cutting” meaning we cut out little paper objects.
Paper Trimmer – 152392 – Cut and score paper for card making, scrapbooking, and other paper crafts with our durable, and portable Paper Trimmer. The extra-wide 7-3/4″ cutting base is extendable 17″ ruler accommodate large paper projects. The base of the paper trimmer includes both imperial and metric measurements, and the base has a midpoint ruler for small paper projects. The ruler and paper restraint snap into place for easy transport. A durable plastic cover protects the ruler and grid so measurements won’t wear off.
One of my favorite things about our Paper Trimmer is that it cuts and scores! I’ve seen many crafter videos where they have to have 2 tools, one for cutting and one for scoring. Ugh! The trimmer is light weight so it travels well, too. Going to a craft along or traveling and want your trimmer, no problem.
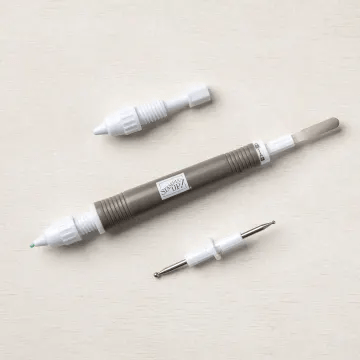
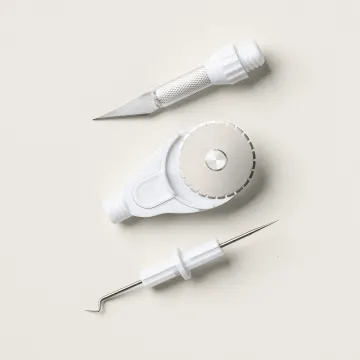
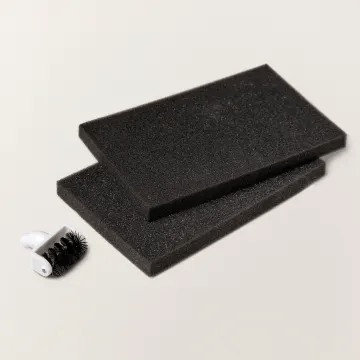
Take Your Pick Tool – 144107 – Multipurpose pickup and precision tool simplifies meticulous tasks. Tacky putty end easily picks up sequins, paper accents, and other small objects; twist to dispense more putty. The other end has 2 changeable, double-ended tips with paper piercer, mini spatula, small stylus, and large stylus. Plus the attachments (also shown below) which can be used for cutting or piercing (161602) and the brush tip (149655) for cleaning cuts from dies.
Stampin’ Dimensionals – 104430 – Double-sided adhesive foam dots add depth and dimension. Great for heavier embellishments, too. Instant bond. Acid free. Stampin’ Dimensionals®: 300 pieces, 3/8″. On cards and in scrapbooks giving your layout dimension makes it more interesting, gives shadows and depth. Also available are mini dimensionals (144108) and black dimensionals (150893) in both sizes.
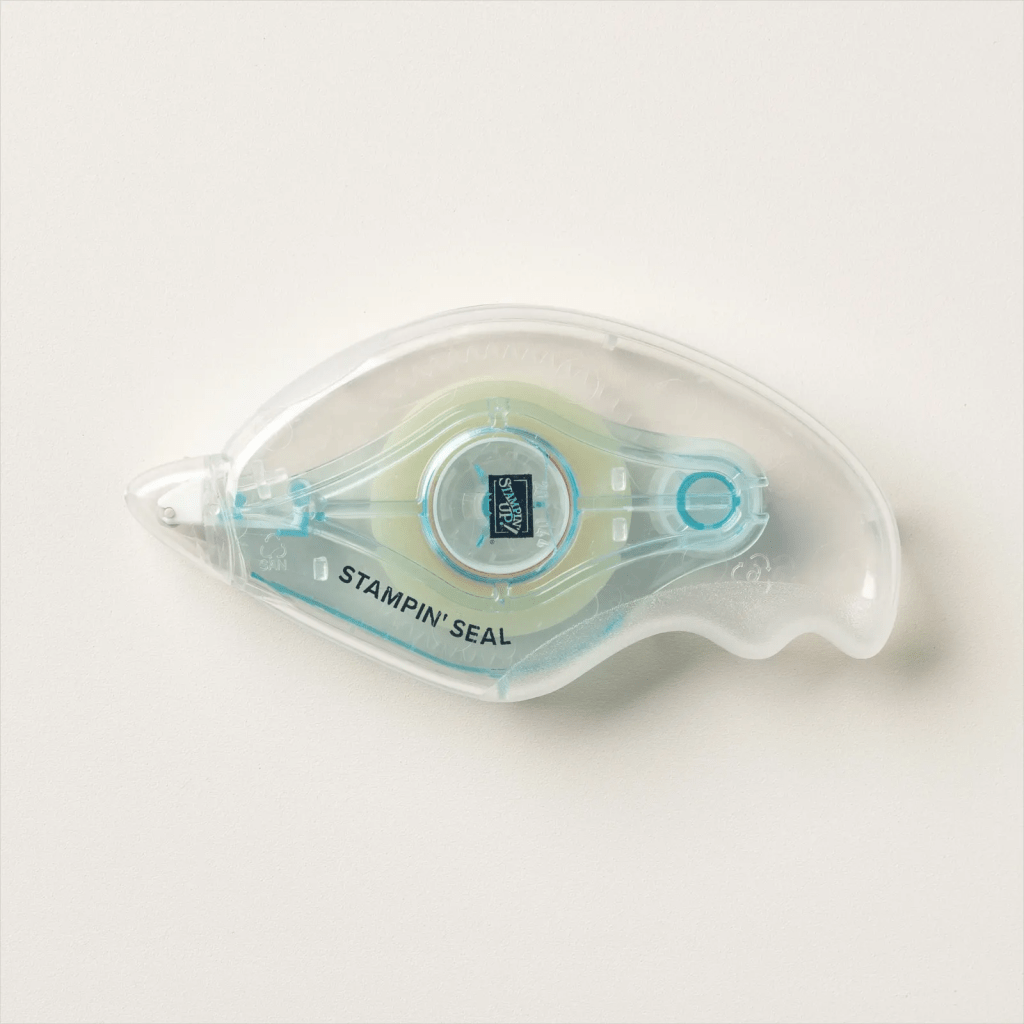
Stampin’ Seal – 152813 – Instant-bond, double sided permanent adhesive. Holds cardstock and ribbon. Acid free. Also, available is the Stampin’ Seal+ (149699) which is stronger than the normal Seal.
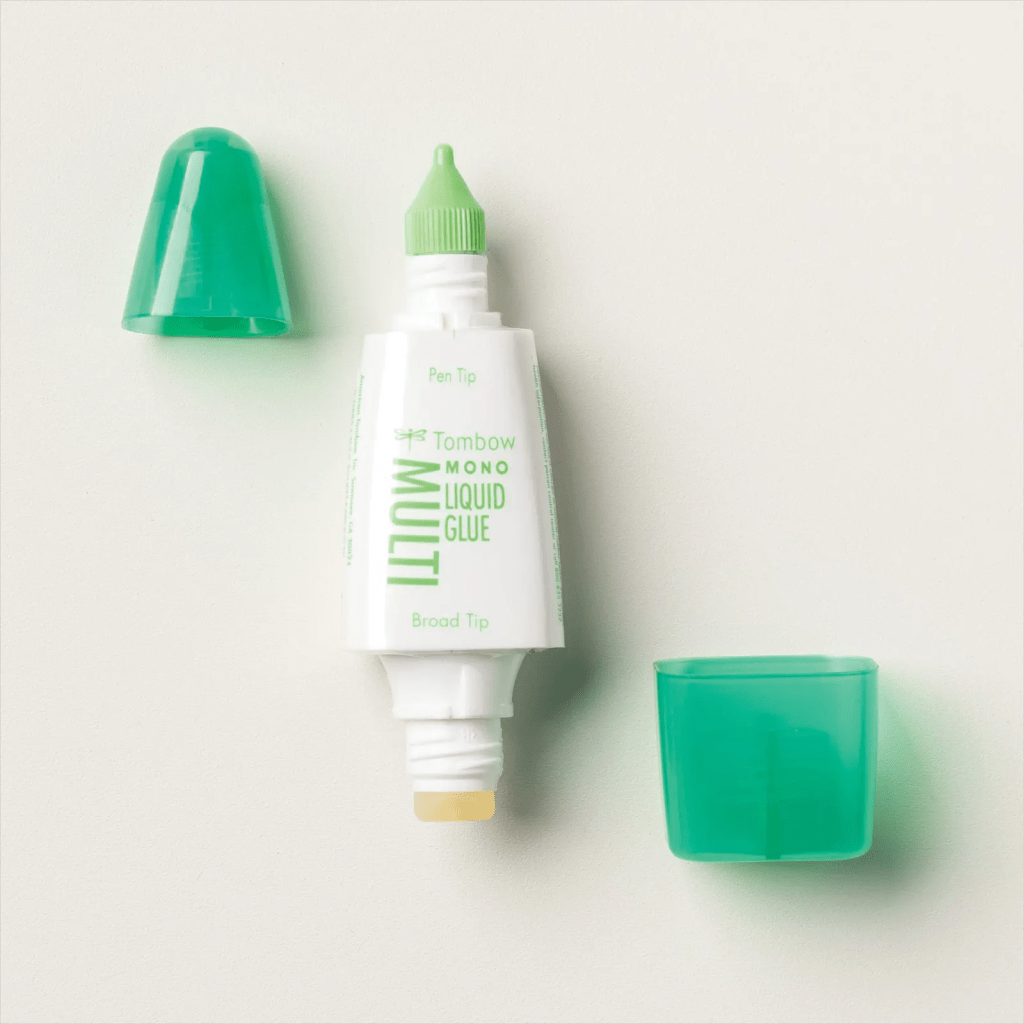
Usually a crafter will have a favorite adhesive, most of the time it’s either Seal or the Multipurpose Liquid Glue (110755). Personally I use both depending on what I’m doing. If it seems I might need room to move the item I use the “green glue” so once you’ve laid it down on the other layer you can adjust the placement if needed. It’s not green but the bottle is. It dries clear.
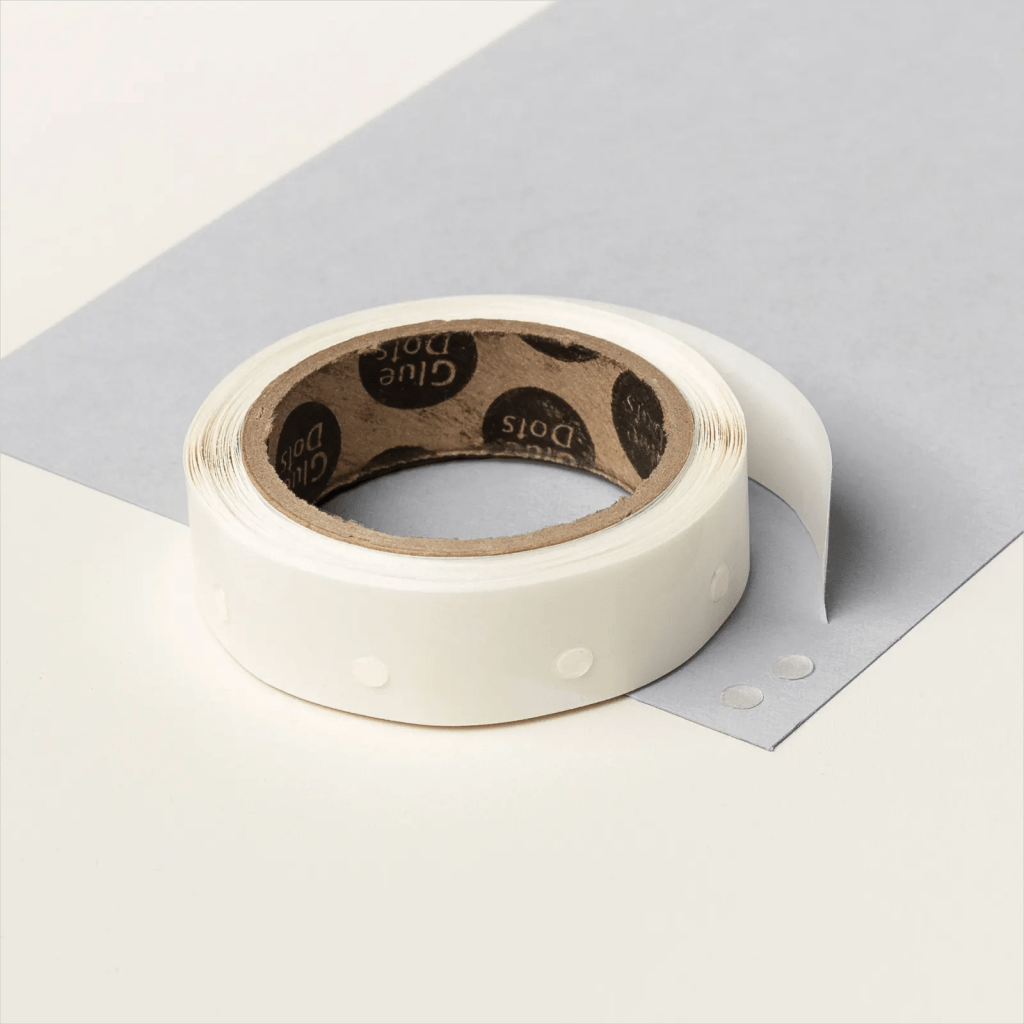
Glue Dots – 103683 – Instant dots of adhesive. No fumes, no mess, no drying time. Holds heavier embellishments, ribbon, cardstock, and detailed die cuts. Glue dots work nicely for small things especially like ribbon or embellishments in my opinion.
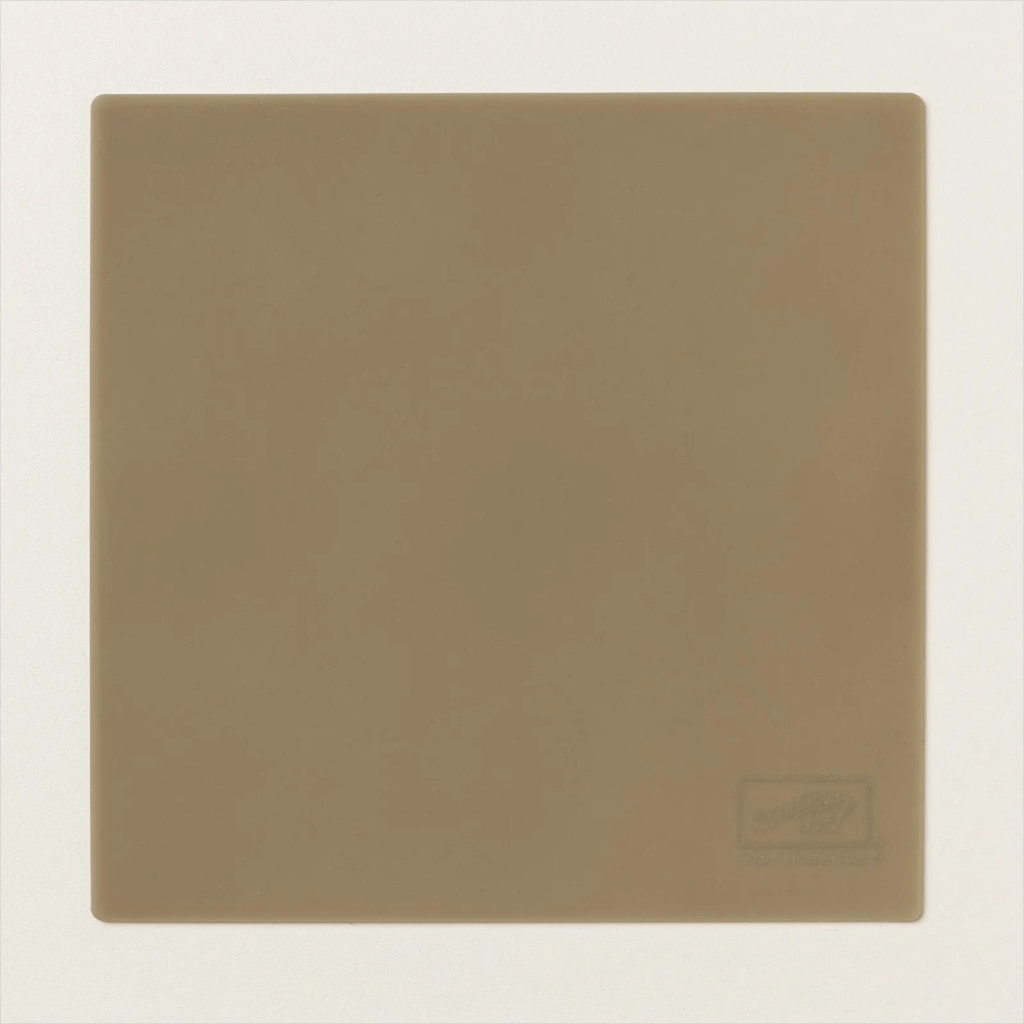
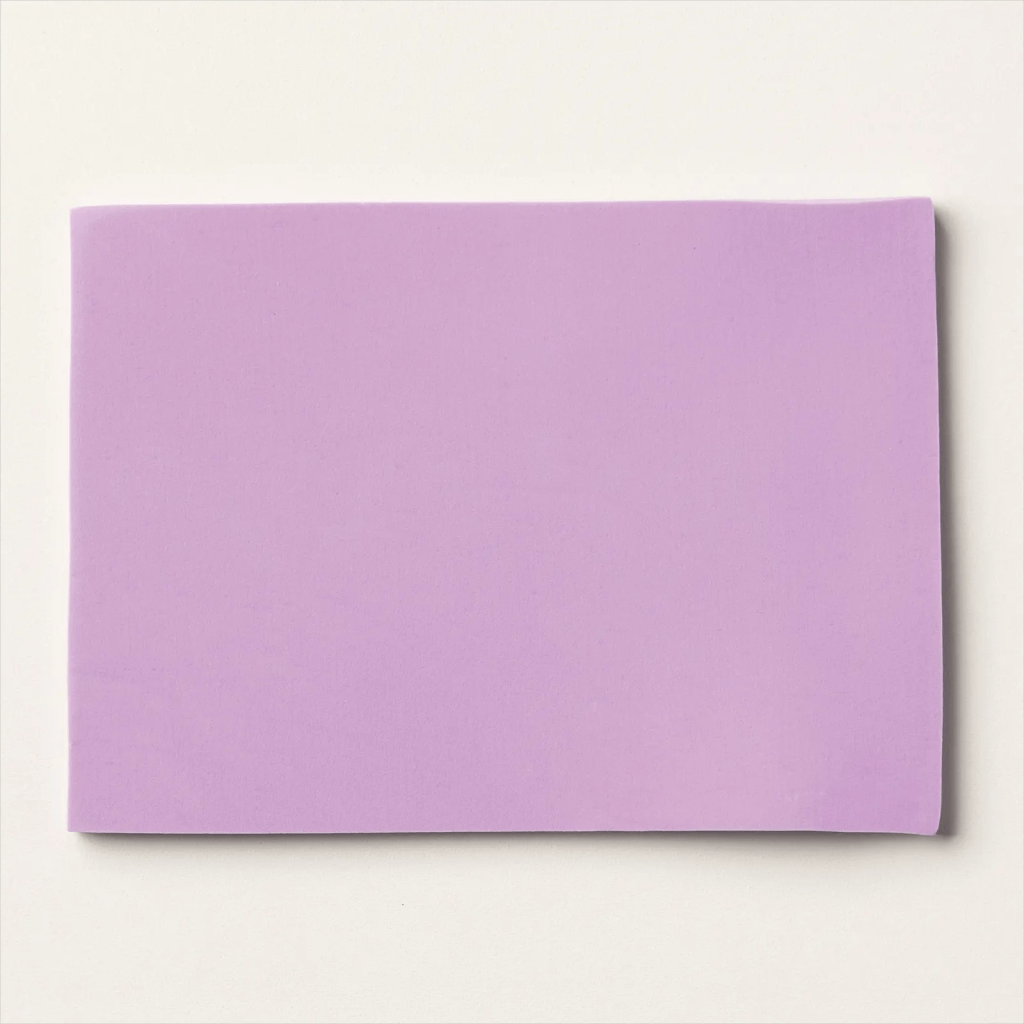
Silicone Craft Sheet – 127853 – Easily assemble embellishments, with our silicone craft mat–just put a dot of adhesive on the sheet and use both hands to assemble the embellishment, then pop it off the sheet when the glue is dry. Additionally, use it to stamp in reverse, if your stamp faces right but you want it to face left use the silicone mat. Stamp directly on the malt and then pick up on your cardstock. Voila a reverse stamp. OR suppose you’ve put your adhesive on a layer of your card but then realize you aren’t ready to attach it. Lay it on the silicone mat adhesive down, work on the layer till you’re ready then turn it over and attach it.
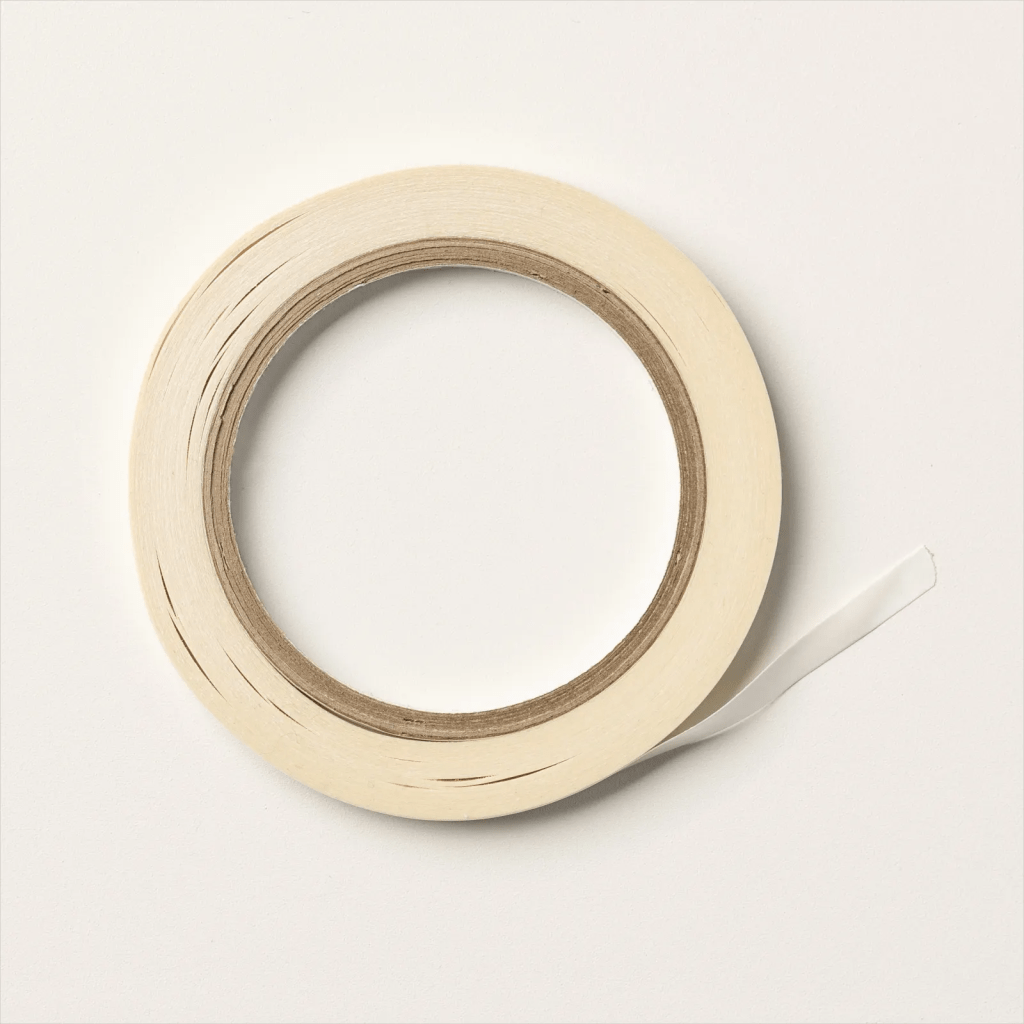
Tear & Tape Adhesive – 154031 – This Tear & Tape Adhesive will have you ready to adhere with ease. The strong, acid-free adhesive is perfect for multiple uses; it can be torn to fit just the right size. Tear off the size you need, place the adhesive, then remove the backing sheet and you’re ready to stick with it! My favorite feature is that you can tear it to size, attach to your piece, but not tear off the 2nd side for as long as you need to wait. Maybe you’re creating a bunch of layers but need to wait till everything is ready before attaching.
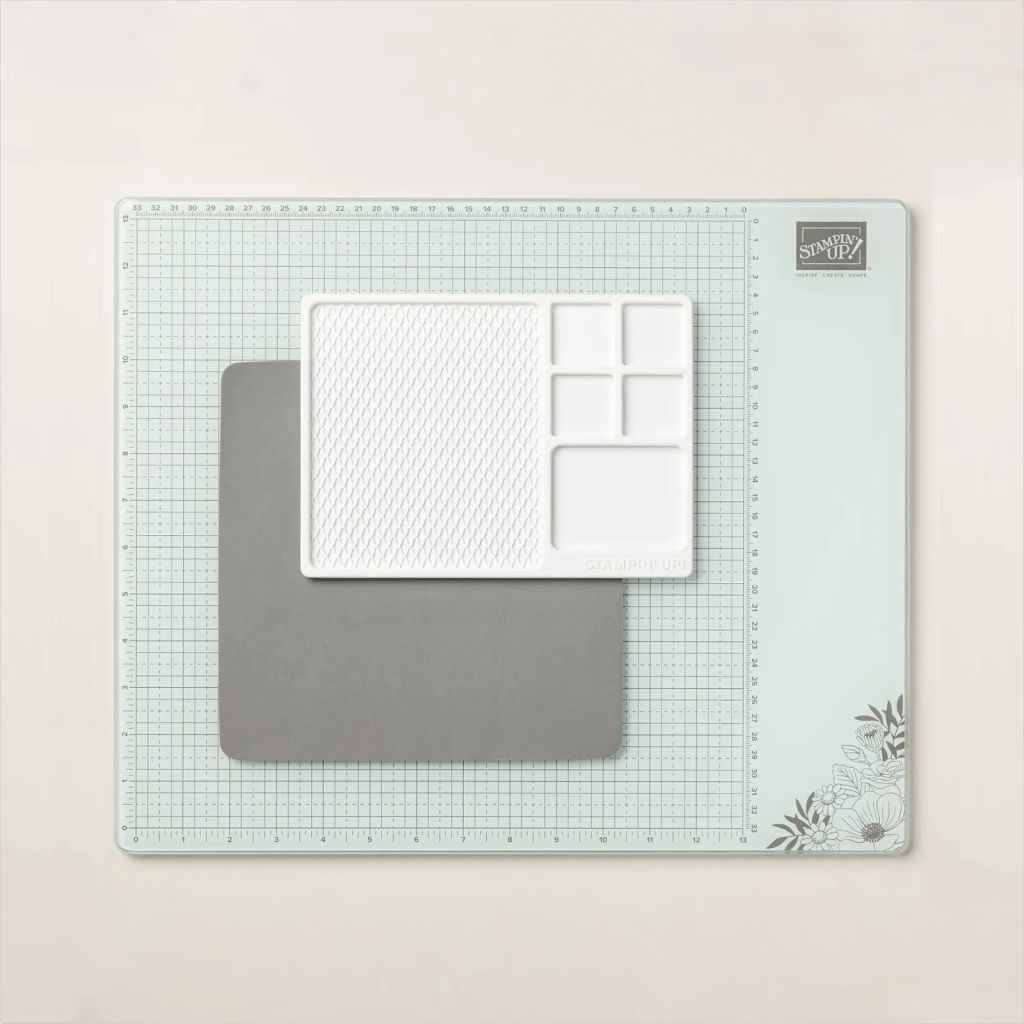
Stampin’ Glass Mat Studio – 163987 – The Stampin’ Glass Mat Studio is a paper crafter’s dream! The heavy-duty glass mat comes printed with a ruler and grid lines for easy measuring, while the large surface space gives ample room for spreading out while paper crafting. The safety-tempered glass has a heat and scratch resistant surface that wipes clean with the included cloth and water—no chemicals needed. The reusable cloth also cleans ink off your stamps! The nonslip, heat resistant, waterproof silicone mat features four palette squares for mixing custom ink colors or for holding small ink spots in place while crafting. Each component can be used separately or you can use all three items together for a multipurpose paper crafting studio that’s both functional and elegant.
Simply Shammy – 147042 – This reusable stamp cleaning cloth makes stamp cleaning effortless. Just add water, then wipe stamps on the shammy. Durable, thick lint-free shammy easily cleans ink from narrow grooves. (Ink will stain shammy but won’t transfer to your fingers or other stamps.) With its portable 5″ x 7″ size it fits neatly in a stamp case. The Stamp Case comes in sets of 4 (119105).
Clear Block Bundle – 165674 – Use our high-quality, reusable acrylic blocks for all of your cling rubber stamps and photopolymer clear stamps. Stamp blocks are grooved for easy gripping and clear so you can see right where you’re stamping. Temporarily mount stamps on clear blocks for stamping, then remove for storage. Save 10% on this clear block bundle that includes all of our block sizes, so you’ll always have the block you need on hand. Individual blocks can be purchased and if so I’d advise getting the most used block, the D block is 118485.
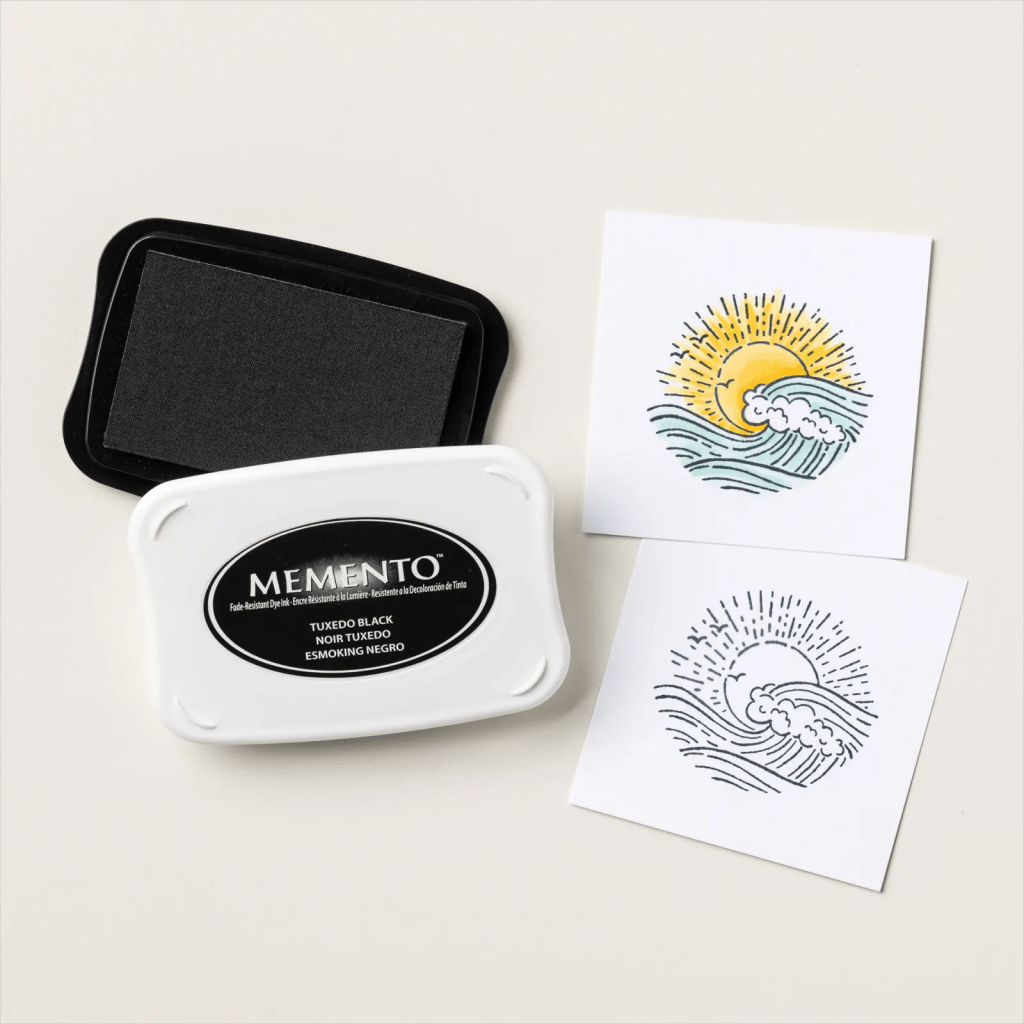
Stamping Inks – I’m not listing an item number per se because we have 50 colors plus black and VersaMark which is great for heat embossing. Were I suggest an ink to start with, I’d suggest the Memento Tuxedo Black Ink (132708) because every crafter needs a go-to black ink. After that I’d get at least 2 or 3 colors. Maybe you’d want a red, a blue, a green, maybe a blue. Then along with that I’d get the matching color of cardstock.
Basic White Cardstock – 159276 – Our Basic White 8-1/2″ x 11″ Cardstock is great for handmade cards and other paper crafts. This classic, heavyweight cardstock is high quality, acid free, and lignin free, making it a favorite scrapbook paper, too. Plus, our Basic Black Cardstock (121045) is an essential.
Additionally, you’ll want a stamp set. Here’s a great sentiment set, With You In Mind (164747) but there are many other options. Look through the ones available and see what appeals to you. You might also like to watch YouTube videos or check out Pinterest to find some you really like.
Medium Envelopes – 159236 – Provide the perfect finishing touch for your cards. Fits standard 5-1/2″ x 4-1/4″ cards.
So, all that is a place to start. What do you want or need. You may already have a paper trimmer or paper snips (at least one pair should be a smallish one). Maybe you already have a good adhesive; however, I strongly advise against school glues like Elmers – they’ve got too much water and will buckle your cardstock and most stick glues just won’t hold. If you have a glue like Art Glitter Glue though that will work very nicely.
All of this sounds like a lot but if you get what you can as you can and start where you are and with what you have you can make some beautiful cards or scrapbook pages. Don’t wait till you have it all. Start now with what you have. At its most basic you’d want white cardstock, a trimmer, a black ink pad, a stamp set, a block and envelopes.
Feel free to let me know if you need help. If you need more suggestions.